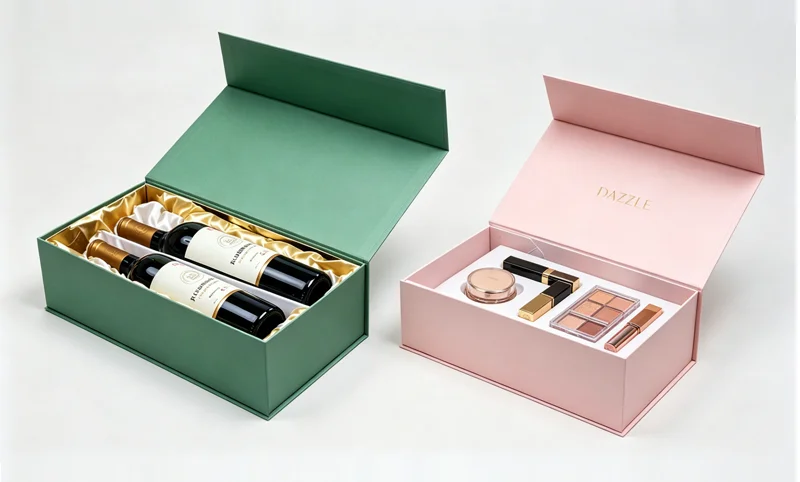
You have just completed a production run of rigid gift boxes for a premium cosmetics client. The boxes look flawless on the surface. Three days later, your quality control team reports an alarming trend: lining paper is beginning to lift at the edges. Some boxes show bubbles beneath the surface. Others feel stiff and brittle, as if the board and lining are fighting each other rather than working together.
When lining paper delaminates from the board, the root cause almost always traces back to two interrelated variables: how the glue was applied and how much pressure was used during lamination. These two factors work together to determine whether the adhesive penetrates properly, bonds securely, and cures without introducing defects.
This guide examines the relationship between glue application and lamination pressure in case lining machines. We explain how different application methods affect bond quality, how pressure influences adhesive penetration and fiber bonding, and how to diagnose and correct common issues related to these two critical variables.
Adhesive bonding in paperboard lamination is not simply a matter of putting glue between two surfaces and pressing them together. The adhesive must penetrate the surface fibers of both the board and the lining material to create mechanical interlocking—the primary mechanism of bond strength in paper-based laminations.
Penetration requires two conditions:
Sufficient adhesive volume applied uniformly across the bonding surface
Adequate pressure to force the adhesive into the fiber structure
If either condition is insufficient, the bond fails. Too little adhesive means incomplete coverage and weak spots. Too much adhesive introduces excess moisture that can cause warping or bubbling. Insufficient pressure leaves the adhesive sitting on the surface rather than penetrating; excessive pressure can crush the board fibers or squeeze out too much adhesive, starving the bond.
The interaction is critical: pressure amplifies the effectiveness of glue application, and glue application determines how much pressure is needed. Understanding this relationship is the foundation of consistent lamination quality.
Case lining machines employ several adhesive application methods, each with distinct characteristics:
| Application Method | How It Works | Best For |
|---|---|---|
| Roll coating | Adhesive transfers from a coating roll to the board surface; gap between rolls controls thickness | Large-area uniform coating; high-volume production |
| Spray coating | Adhesive atomized by compressed air and sprayed onto target area | Complex structures or small-area applications |
| Extrusion/contact | Adhesive extruded through nozzles or slots directly onto the surface | Precision application; controlled patterns |
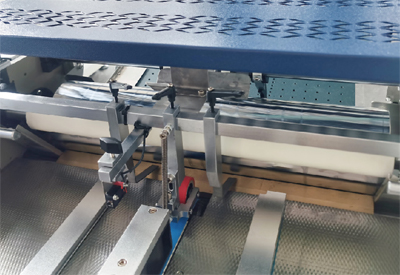
In roll coating systems—common in case lining machines—the adhesive layer thickness can be controlled by adjusting the gap between the coating roll and the metering roll, typically in the range of 0.1–0.3 mm, producing an adhesive layer of 0.05–0.15 mm.
Inconsistent adhesive application is a primary cause of delamination. When glue volume varies across the bonding surface, some areas receive adequate adhesive while others receive too little. The result is uneven bond strength—strong in some spots, weak in others—that often manifests as edge lifting or localized delamination.
Prevention strategies:
Use controlled hot-melt or cold-glue systems with consistent delivery
Monitor application temperature, pressure, and coverage
Test glue wet-out on each paper substrate before production
Maintain consistent adhesive viscosity (see below)
Adhesive viscosity—the thickness or flow resistance of the glue—directly affects how uniformly it can be applied and how well it penetrates.
What changes viscosity:
Open glue bowls lose moisture through evaporation, movement, and heat
Temperature fluctuations alter flow characteristics
Evaporation increases solids content, thickening the adhesive
Viscosity control solutions:
Automatic viscosity control systems continuously monitor the glue's viscosity and automatically add water to maintain consistent performance without operator intervention. Some systems include glue mixers, level sensors, and automated water feeding.
For case lining machines, HORDA offers an optional intelligent glue tank with automatic water addition and automatic adjustment of glue concentration. This optional feature helps maintain consistent viscosity across production runs, reducing waste and improving quality.
Glue application amount: Typical glue layer thickness for paperboard lamination ranges from 0.3–0.5 mm for rigid box applications. Applying the minimum effective glue quantity—enough to achieve full coverage without excess—reduces moisture-related warping and speeds drying.
Pressure during lamination serves multiple functions:
Forces adhesive into the fiber structure for mechanical interlocking
Expels trapped air that would otherwise create bubbles
Ensures full surface contact between board and lining material
Establishes the final bond as the adhesive cures
The appropriate pressure depends on the materials being laminated:
| Substrate Type | Recommended Pressure |
|---|---|
| High pressure laminates | 2.1–5.6 kg/cm² (30–80 psi) |
| Solid core stock | 7.0–10.5 kg/cm² (100–150 psi) |
| All veneer constructions | 7.0–17.6 kg/cm² (100–250 psi) |
For rigid box lamination applications, pressures typically fall in the 7–10 kg/cm² range, depending on board thickness, lining material, and adhesive type.
What these numbers mean for your production:
Too little pressure: Adhesive sits on the surface rather than penetrating; bond strength is weak; delamination occurs under stress
Too much pressure: Board fibers may be crushed; adhesive may be squeezed out (starving the bond); excessive moisture migration can cause warping
Correct pressure: Adhesive penetrates the fiber structure; mechanical interlocking creates strong, durable bonds
Research on adhesive penetration into coated and uncoated paperboard indicates that process conditions—including pressure—significantly influence how deeply adhesive penetrates the paper surface. This penetration is critical for achieving good bond strength through mechanical interlocking.
In practical terms, pressure must be sufficient to overcome the surface tension of the adhesive and drive it into the fiber matrix, but not so high that it compresses the board structure beyond its elastic limit.
Different adhesive types require different application parameters and respond differently to pressure.
| Adhesive Type | Application Temperature | Set Time | Pressure Considerations |
|---|---|---|---|
| Hot melt (animal glue) | Molten at 60–70°C | 1–3 seconds | Sets by cooling; pressure maintains contact during cooling |
| Water-based (cold glue/PVA) | Ambient (minimum 6°C) | 5–10 minutes to hours | Moisture introduced requires longer pressure/drying |
| Hot melt (EVA/polyamide) | 160–180°C | 1–3 seconds | Heat-sensitive; pressure must be controlled to avoid crushing |
Hot melt adhesives (including animal glue) are commonly used in case lining machines. They set quickly by cooling, which means pressure must be maintained during the brief cooling period. The advantage is immediate handling capability.
Water-based cold glues introduce moisture to the board, which can cause warping if pressure is not maintained long enough for the water to be absorbed or evaporated. They require longer pressing times—typically 30 minutes to two hours—but offer lower odor and easier cleanup.
Viscosity control is particularly important for water-based adhesives, as evaporation changes their consistency throughout the production day.
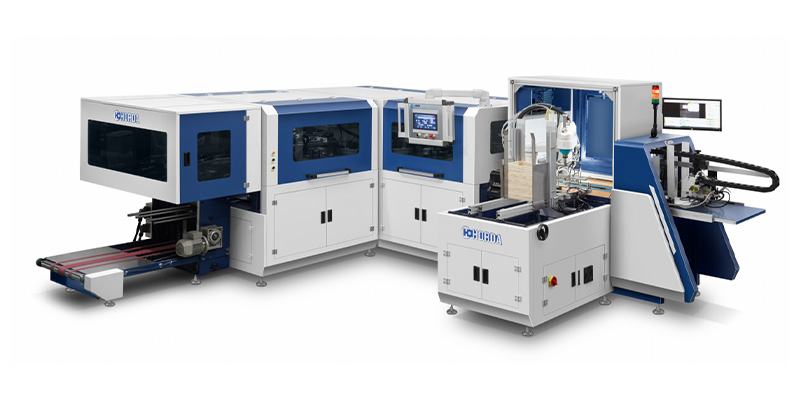
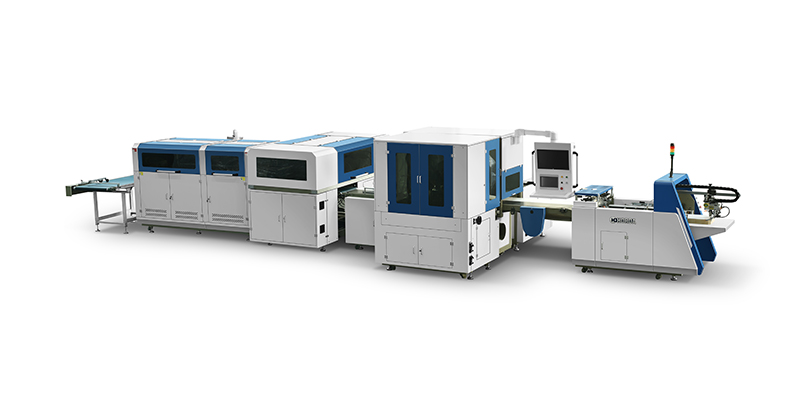
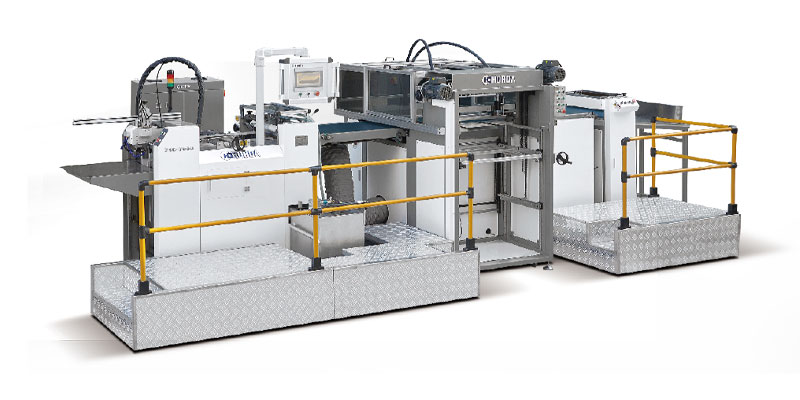
For a detailed overview of how case lining machines integrate gluing and pressing functions, explore the case lining machine specifications including motion control and CCD positioning features.
| Defect | Likely Cause | Solution |
|---|---|---|
| Delamination/edge lifting | Insufficient adhesive; inadequate pressure; poor surface energy match | Increase glue volume or pressure; test adhesive on substrate |
| Bubbling underlining | Trapped air not expelled by pressure; excess moisture vapor | Increase pressure gradually; reduce adhesive moisture; improve roller configuration |
| Warping/curling | Excess adhesive moisture; uneven pressure causing differential expansion | Reduce glue application; ensure uniform pressure distribution |
| Adhesive strike-through | Too much adhesive or pressure forcing glue through porous lining | Reduce application amount; adjust pressure; use less porous lining |
| Inconsistent bond strength | Viscosity variation; uneven application | Install viscosity control system; calibrate application equipment |
Diagnostic approach: When defects occur, check the pressure gauge first. If pressure is within the recommended range, examine adhesive application uniformity and viscosity. Often, a combination of adjustments—slightly increasing pressure while slightly reducing glue volume—resolves the issue.
Maintain application temperature within the adhesive manufacturer's specified range (for gelatin glue: 140–150°F / 60–66°C)
Apply 1–2 mils (0.025–0.05 mm) of adhesive to substrates
Ensure pressure is maintained during the cooling/setting period
Monitor viscosity: open systems lose moisture and thicken over time
Allow board to acclimate to production environment (24–48 hours) before processing
Maintain production area humidity at 45–60% to prevent moisture-related issues
Use the minimum effective glue quantity to reduce warping risk
Allow adequate pressing time: typical press times range from 30 minutes to two hours
Consider optional viscosity control for consistent performance
Start low and increase gradually until bond strength meets requirements
Verify uniform pressure distribution across the entire bonding surface
Document pressure settings for each material combination
Check pressure gauges regularly; mechanical drift can occur over time
Material selection—including board grade, cover stock, and adhesive compatibility—directly affects how glue application and pressure should be configured. For guidance on matching materials, explore industry-specific production considerations for cosmetic, wine, and electronics packaging.
Profile: A contract packaging manufacturer produces 20,000+ rigid phone boxes weekly. Production speed is the priority. Hot melt adhesive is used for its fast set time.
Key considerations:
Pressure must be applied immediately after adhesive application, while the glue is still molten
Pressure rollers must maintain consistent contact during the brief cooling period (1–3 seconds)
Viscosity control is essential: hot melt viscosity changes with temperature fluctuations
Optimization approach: Install automatic viscosity monitoring; set pressure at the lower end of the recommended range (7 kg/cm²) to avoid crushing the board while ensuring full contact.
Profile: A specialty packaging house produces boxes with different lining materials—coated paper, specialty paper, synthetic paper, and cloth. Each material has different porosity and surface energy.
Key considerations:
Different lining materials require different pressure settings
Porous materials absorb more adhesive and may require less pressure
Non-porous materials (synthetic paper, cloth) require more pressure to achieve contact
Press time varies by material and adhesive formulation
Optimization approach: Document pressure and press time settings for each material combination. Use a checklist to verify settings before each job. Consider the optional viscosity control system to maintain consistent adhesive performance across material changes.
Moisture control is closely related to glue application and pressure, particularly when using water-based adhesives. For a detailed analysis of how moisture affects rigid box quality, refer to our guide on warped rigid boxes and moisture control.
Once you have clarified the relationship between glue application, pressure, and bond quality, comparing specific equipment capabilities becomes the logical next step. Not all case lining machines offer the same level of control over adhesive application uniformity, viscosity management, or pressure distribution. Technical specifications for glue tank design, roller configuration, pressure control systems, and optional viscosity monitoring differentiate equipment that appears similar on paper.
To continue building your rigid box production expertise, the following topics complement this guide: