You have completed a production run of 5,000 rigid gift boxes for a premium cosmetics client. The boxes look flawless coming off the line. Three days later, your quality control team reports a troubling pattern: lining paper is lifting at the edges on nearly 15% of the boxes. Some show bubbling beneath the surface. A few have delaminated entirely at the corners.
Adhesion failures in rigid box lamination are among the most costly defects in post-press—not because they are difficult to diagnose, but because they typically surface after the job has already been cut, creased, and packed, meaning rework or full reprints are often the only options. Edge lifting, bubbling, and delamination ruin the aesthetics of a luxury box and compromise its structural integrity.
This guide systematically examines the most common adhesion failures in rigid box lamination—edge lifting, bubbling, delamination, and adhesive strike-through. For each defect, we explain the root causes, provide diagnostic approaches, and outline practical solutions that production teams can implement without major capital investment.
Before diagnosing specific defects, it helps to understand how adhesive bonding works in paperboard lamination.
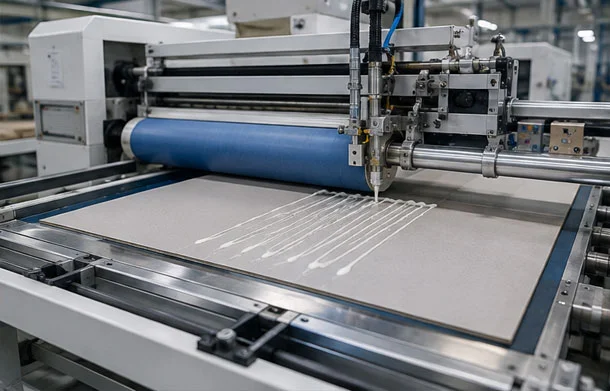
Mechanical interlocking is the primary mechanism of bond strength in paper-based laminations. The adhesive must flow into the microscopic pores and irregularities of the paper surface, creating a physical lock. As the adhesive dries or cures, it hardens, forming a strong mechanical bond with the paper substrate.
For this to happen, three conditions must be met:
The adhesive must remain fluid long enough to penetrate the substrate
The substrate must be receptive to the adhesive (proper surface energy and porosity)
Sufficient pressure must be applied to force the adhesive into the fiber structure
When any of these conditions fails, adhesion failures follow.
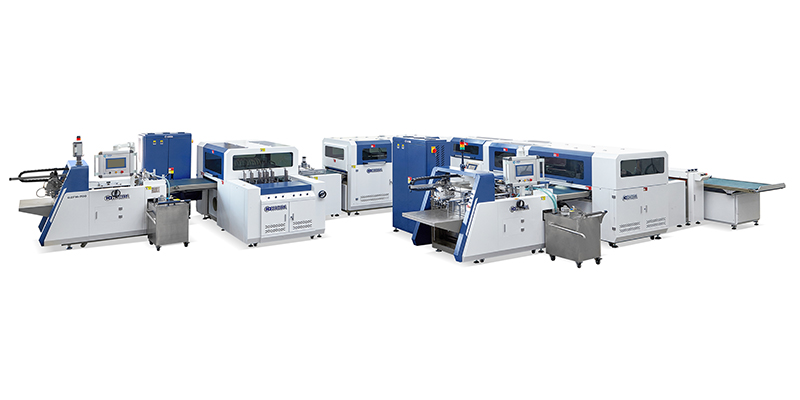
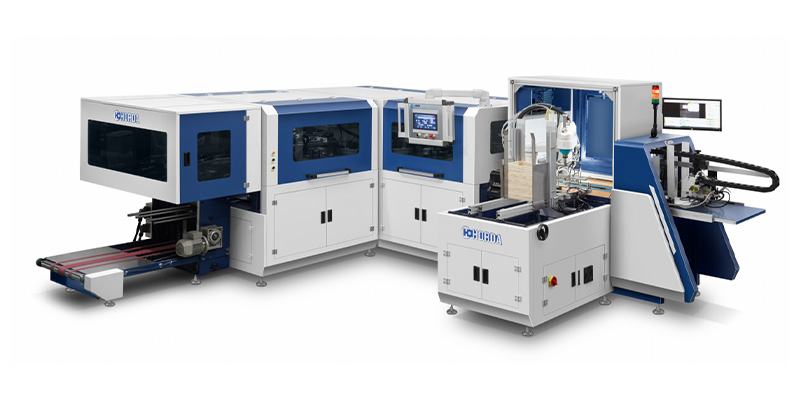
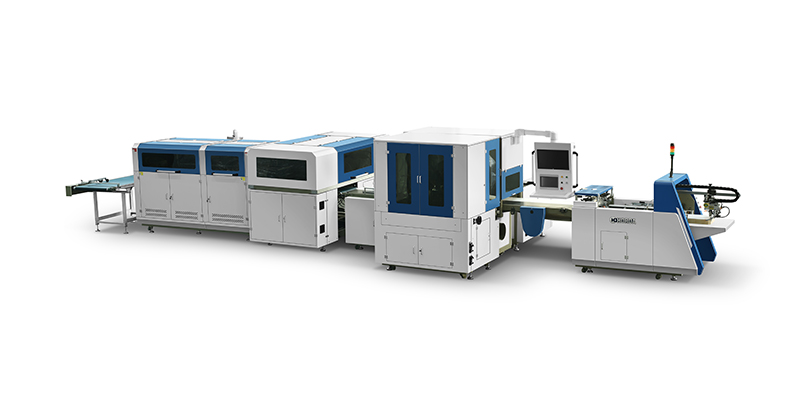
For an overview of how case lining machines integrate glue application with positioning and control systems, explore the case lining machine specifications including glue application and viscosity control features.
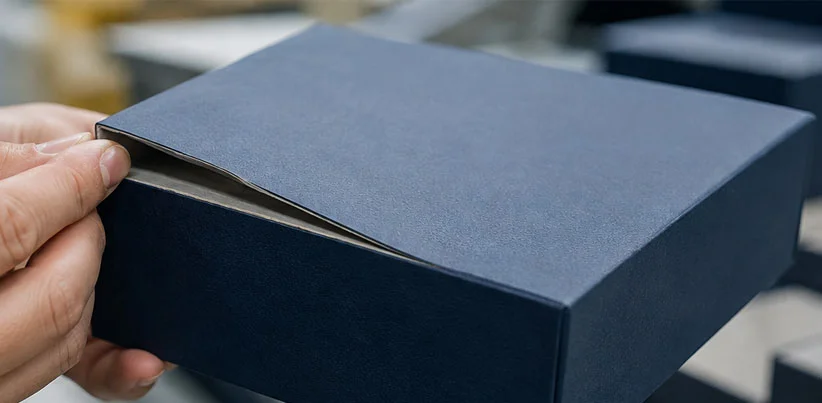
Edge lifting—where the lining paper separates from the board at edges or corners—is one of the most common adhesion failures in rigid box production.
Insufficient adhesive coverage: If the adhesive does not reach the edges of the lining paper, those areas remain unbonded. This is often caused by inconsistent glue application or inadequate adhesive coat weight. For inner liner paper, adhesive coat weight should fall between 18–22 g/m². Below 15 g/m², you will see edge lifting within 72 hours of lamination—particularly at the four corners of the lid panel where the paper is mitered and folded.
Glue skin-over: The glue applied to the inner paper dries partially before the paper meets the rigid box shell. This is called “skin-over.” When the press comes down, the dry glue skin does not bond. The result is bubbles or sections where the liner simply lifts away. This occurs when transfer time between gluing and pressing exceeds 3–5 seconds.
Low surface energy of the lining material: Heavily varnished, laminated, soft-touch, UV-coated, or metallic surfaces often have low surface energy. These surfaces test at 32–36 mN/m and will cause delamination within 24–72 hours of box erection. Standard adhesives simply cannot wet out on these surfaces.
Substrate moisture content: SBS board arriving at a facility above 8% moisture content will not bond reliably with solvent-free adhesive systems.
Check adhesive coverage at edges using visual inspection or dyne pen testing
Measure adhesive coat weight (target: 18–22 g/m² for inner liner)
Test lining material surface energy with a dyne pen (target: ≥38 mN/m for reliable bonding)
Measure incoming board moisture content (target: 6–8%)
Increase adhesive application at edges or adjust glue pattern to ensure full coverage
Reduce transfer time between gluing and pressing to under 3 seconds to prevent skin-over
Use surface treatment (corona treatment or primers) for low-energy lining materials
Switch adhesive formulation to one compatible with the specific lining material
Condition board to 6–8% moisture content before lamination
Bubbling appears as raised areas where the lining has not fully adhered to the board. Bubbles can be tiny pinholes or large blisters that catch light and ruin the smooth surface.
Trapped air during lamination: When the lining material contacts the board, air can become trapped if pressure is not applied progressively from center outward. Air pockets compress during pressing but reappear during storage or temperature changes.
Excess moisture vaporizing: Water-based adhesives release moisture as they dry. If the lining material has low vapor permeability (soft-touch films, heavily coated papers), vapor cannot escape and collects as bubbles beneath the surface.
Excessive adhesive application: Too much adhesive can prevent the adhesive from aerating over the full application height, creating pockets where air or moisture becomes trapped.
Inconsistent pressure during lamination: Uneven pressure distribution across the pressing surface creates zones of incomplete contact, where bubbles form and persist.
Examine bubble patterns—are they random or concentrated in specific areas?
Check adhesive application uniformity across the lining surface
Verify pressing pressure distribution (use pressure-sensitive film if needed)
Test lining material vapor permeability
Optimize laminating roller configuration: Use rollers that apply pressure from the center outward, or angled rollers that progressively squeeze air toward the edges
Reduce adhesive application amount to the minimum effective quantity
Use vapor-permeable lining materials where possible, or consider pin-perforating non-permeable materials
Apply pressure gradually: Immediate full pressure traps air; gradual pressure build-up allows air to evacuate before final bonding
Control ambient humidity: High humidity (>65% RH) causes paper to absorb moisture, expand, and later contract, creating stress that pulls the film away—leading to delamination or bubbles
Delamination is the separation of the lining material from the board, either at the adhesive interface or within the paper fiber layer itself. Unlike edge lifting, delamination can occur across the entire surface or in large sections.
Inadequate adhesive penetration: If the adhesive does not penetrate the fiber structure, the bond remains only at the surface. The penetration of the adhesive into the paper surface is important to get good bond strength through mechanical interlocking. When penetration is insufficient, the bond fails under stress.
Substrate moisture mismatch: The most common root cause in delamination investigations is substrate moisture content. When moisture content varies between the board and the lining material, differential expansion creates stress that pulls the bond apart.
Inadequate surface energy: Low-surface-energy materials repel adhesives. Soft-touch, UV, and metallic surfaces repel standard glues—edges lift after trim or in humidity cycling.
Thermal stress: PVA-based lamination adhesive begins delaminating at corner wraps after thermal cycling—switching to a polyurethane dispersion adhesive extends performance significantly.
Contamination: Moisture, dust, debris, or the presence of unwanted adhesives can all interfere with the bonding process.
Perform an 180° peel test per ASTM D903 to measure bond strength
Check substrate moisture content (board and lining material)
Test surface energy of the lining material with a dyne pen
Examine delamination pattern—is it at the adhesive interface or within the fiber layer?
Adjust adhesive formulation to match substrate porosity and surface energy
Control board moisture content at 6–8% before lamination
Increase lamination pressure to improve adhesive penetration
Use primers or surface treatments for low-energy materials
Switch to polyurethane dispersion adhesive for applications requiring thermal cycling resistance
Maintain clean substrates free from dust and contaminants
Strike-through occurs when adhesive penetrates through the lining material and appears on the exterior surface, creating visible stains or discoloration.
Adhesive coat weight too high: Above 25 g/m², adhesive bleed-through discolors light-colored liners and creates a tactile ridge detectable by hand.
Adhesive viscosity too low: Thin adhesive penetrates too deeply and too quickly, soaking through porous lining materials.
Lining material too porous: Lightweight papers (below 100 gsm) or highly porous materials allow adhesive to pass through more readily.
Excessive pressure: Too much pressure during lamination forces adhesive through the lining material.
Measure adhesive coat weight (target: 18–22 g/m² for inner liner)
Check adhesive viscosity at application temperature
Test lining material porosity and absorbency
Verify lamination pressure settings
Reduce adhesive application amount to the minimum effective quantity
Increase adhesive viscosity (add thickener or adjust temperature)
Use less porous lining materials or add a barrier layer
Reduce lamination pressure to the minimum required for bonding
| Defect | Primary Symptoms | Most Common Root Causes | First Steps to Fix |
|---|---|---|---|
| Edge lifting | Lining separates at edges/corners | Low coat weight (<15 g/m²); skin-over; low surface energy | Increase coat weight; reduce transfer time; test surface energy |
| Bubbling | Raised areas under lining | Trapped air; excess moisture; uneven pressure | Optimize roller configuration; reduce adhesive amount |
| Delamination | Widespread separation of liner | Moisture mismatch; low surface energy; contamination | Test moisture content; perform peel test; check surface energy |
| Strike-through | Adhesive visible on surface | Excessive coat weight (>25 g/m²); low viscosity | Reduce coat weight; increase viscosity |
Individual fixes address specific defects, but sustainable quality requires a systematic approach.
Test board moisture content on every pallet (target: 6–8%)
Test lining material surface energy with a dyne pen (target: ≥38 mN/m)
Test adhesive bond strength with peel tests per ASTM D903
Track adhesive coat weight per box (target: 18–22 g/m² for inner liner)
Monitor glue transfer time (target: under 3 seconds)
Log environmental conditions (temperature and RH) in the production area
Perform 180° peel tests on sample boxes
Check for edge lifting 24–72 hours after production
Document defect rates and root causes
Train operators to recognize early signs of adhesion failure
Document standard operating procedures for adhesive application
Create a visual reference guide for acceptable vs. unacceptable quality
For a comprehensive understanding of all common defects in rigid box manufacturing—including warping, corner wrinkles, and misalignment—refer to our complete guide to rigid box quality defects and root causes.
Profile: A cosmetics packaging manufacturer produces 10,000 rigid boxes weekly for a premium skincare brand. The inner lining is a 120 gsm coated paper. Edge lifting appears on 8–10% of boxes within 3–5 days of production.
Diagnosis: Adhesive coat weight measured at 12–14 g/m²—below the 18–22 g/m² target range. Transfer time between gluing and pressing averages 4–5 seconds, allowing skin-over to occur.
Solution: Increase adhesive application to achieve 18–20 g/m² coat weight. Adjust machine timing to reduce transfer time to under 3 seconds.
Result: Edge lifting drops from 8–10% to under 1%.
Profile: A rigid box manufacturer produces gift boxes with soft-touch PU lining. Bubbles appear consistently in the center of lid panels.
Diagnosis: Soft-touch film has low vapor permeability. Water-based adhesive moisture cannot escape, creating bubbles.
Solution: Switch to hot melt adhesive (which contains no water) for the soft-touch application. Alternatively, reduce adhesive coat weight and increase drying time before stacking.
Result: Bubble defects eliminated.
Once you have identified the root causes of adhesion failures in your production, evaluating whether your equipment can support the necessary corrective actions becomes the logical next step. Not all case lining machines offer the same level of control over adhesive application uniformity, viscosity management, or transfer time. Technical specifications for glue tank design, application rollers, pressure control systems, and timing mechanisms differentiate equipment that appears similar on paper. Reviewing these specifications in light of your specific defect patterns will help you determine whether process adjustments are sufficient or whether equipment upgrades are warranted.
How Adhesive Viscosity Affects Case Lining Quality and Consistency
Material Selection Guide for Rigid Gift Boxes: Board Grades, Cover Stocks, and Adhesives

 English
 Español
 Português